Example : CSV reader
Let's illustrate the component creation with a concrete example: a CSV reader that displays a table. We'll start by creating the folder:
Component repository creation
- yarn
- npm
yarn create zint-component csv
npx create-zint-component csv
Let's answer the initial form to initiate the repo.
| Question | Answer |
|---|---|
| component name | csv |
| Is the data text or binary ? | Text |
| Text encoding | UTF-8 (default) |
| Split data as a stream of lines ? | No, send all at once. |
| Parse data as JSON ? | no |
About Split the data as a stream of lines? :
The terminal will send us a stream of data, we need to choose whether we want to treat the data all at once or stream it line by line. 95% of the CSV files could be decoded line by line but that would not be theoretically correct, so we'll choose all at once.
info
Choosing All At Once means the React component will only get the data when the program closes. Streaming line by line enable nicer experiences, but in the case of CSV, the splitting of the stream is not (always) line by line, so we'll keep it simple. Of course it'as always possible to code a custom stream splitter to enable streaming the data as it arrives, but this is out of the scope of this tutorial.
The component is now created!
Let's open it in a browser, to debug:
- yarn
- npm
cd csv
yarn
yarn start
cd csv
npm install
npm run start
and you should see this
Replace this file (testInputData.bin)
with actual test data for your React Component to test more easily
Let's create a data file
URL='https://gist.githubusercontent.com/piq9117/83dd2e0c7bb3949bbcaf4346b8a77418/raw/6b407f99c5aea0b25a9ed3c82888d4c7823eed13/test.csv'

curl $URL > test-app/testInputData.bin
and now the browser displays
"James","Brent","Benton, John B Jr","6649 N Blue Gum St","New Orleans","Orleans","LA",70116,"504-621-8927","504-845-1427","jbrent@gmail.com","http://www.bentonjohnbjr.com"
"Josephine","Darakjy","Chanay, Jeffrey A Esq","4 B Blue Ridge Blvd","Brighton","Livingston","MI",48116,"810-292-9388","810-374-9840","josephine_darakjy@darakjy.org","http://www.chanayjeffreyaesq.com"
"Art","Venere","Chemel, James L Cpa","8 W Cerritos Ave #54","Bridgeport","Gloucester","NJ","08014","856-636-8749","856-264-4130","art@venere.org","http://www.chemeljameslcpa.com"
[...]
Parse the CSV and build the React Component
Parsing CSV is full of pitfalls and we shouldn't do it ourselves. Multiple libraries exist on the web. After a cursory search, Papa Parse seems to be maintained and to have a very simple API data = Papa.parse(text) which seems perfectly what we need.
- yarn
- npm
yarn add papaparse
npm install papaparse
and we'll edit the src/Component.tsx file to change the React component. Specifically we will edit this part :
    const [data, setData] = React.useState<string>()

    React.useEffect( () => {
        const subscription = props.data$.pipe(
            pluck('data'),
            waitForAllData(),
            decode('utf-8')
        ).subscribe((data: string) => setData(data))

        return () => subscription.unsubscribe()
    }, []);
This is a RxJS pipeline that transforms the data according to what we chose during the create-zint-component questionnaire. We could replace setData in the subscribe by a function that parses the CSV and then calls setData, or we could introduce a parse CSV step in the rxjs pipeline. We'll go for the second solution in this tutorial.
Add some imports:
import { Observable, pluck, /* we add this => */ map } from "rxjs"
import Papa from 'papaparse'
and modify the code as follows :
const Csv = (props: Props) => {

    /* change the State type to any, since we don't know the data format */
    const [data, setData] = React.useState<any>()

    React.useEffect( () => {
        const subscription = props.data$.pipe(
            pluck('data'),
            waitForAllData(),
            decode('utf-8'),
            map(data => Papa.parse(data)) /* <= we add this */
        ).subscribe((data) => setData(data))

        return () => subscription.unsubscribe()
    }, []);

    return <div>
        <pre>
        {/* add a temporary JSON.stringify so that we can display parsed data*/}
        {JSON.stringify(data)}
        </pre>
    </div>

}
Let's save and the browser now displays :
Display the tabular data
With another cursory search on the web on the way to display a React table, we find plethora of components. A lot of them (React-table for example seems to be popular) seem highly configurable and powerul. Since this is just a tutorial let's try to find a batteries-included one that is simple to install.
Let's settle for mui-datatables which comes with batteries, expect exactly the data format we have and is pre-packed in a turn-key React component.
- yarn
- npm
yarn add mui-datatables @mui/material  @mui/icons-material @emotion/react @emotion/styled
yarn add -D @types/mui-datatables
npm install mui-datatables @mui/material  @mui/icons-material @emotion/react @emotion/styled
npm install -D @types/mui-datatables
and we change the component display to :
    return <div>
        {data?.errors?.length > 0 && <h2>Errors in parsing!</h2>}
        {data?.data && <MUIDataTable
            title="demo CSV reader for Zint!"
            columns={data.data[0]}
            data={data.data.slice(1)}
            >
        </MUIDataTable>}
    </div>
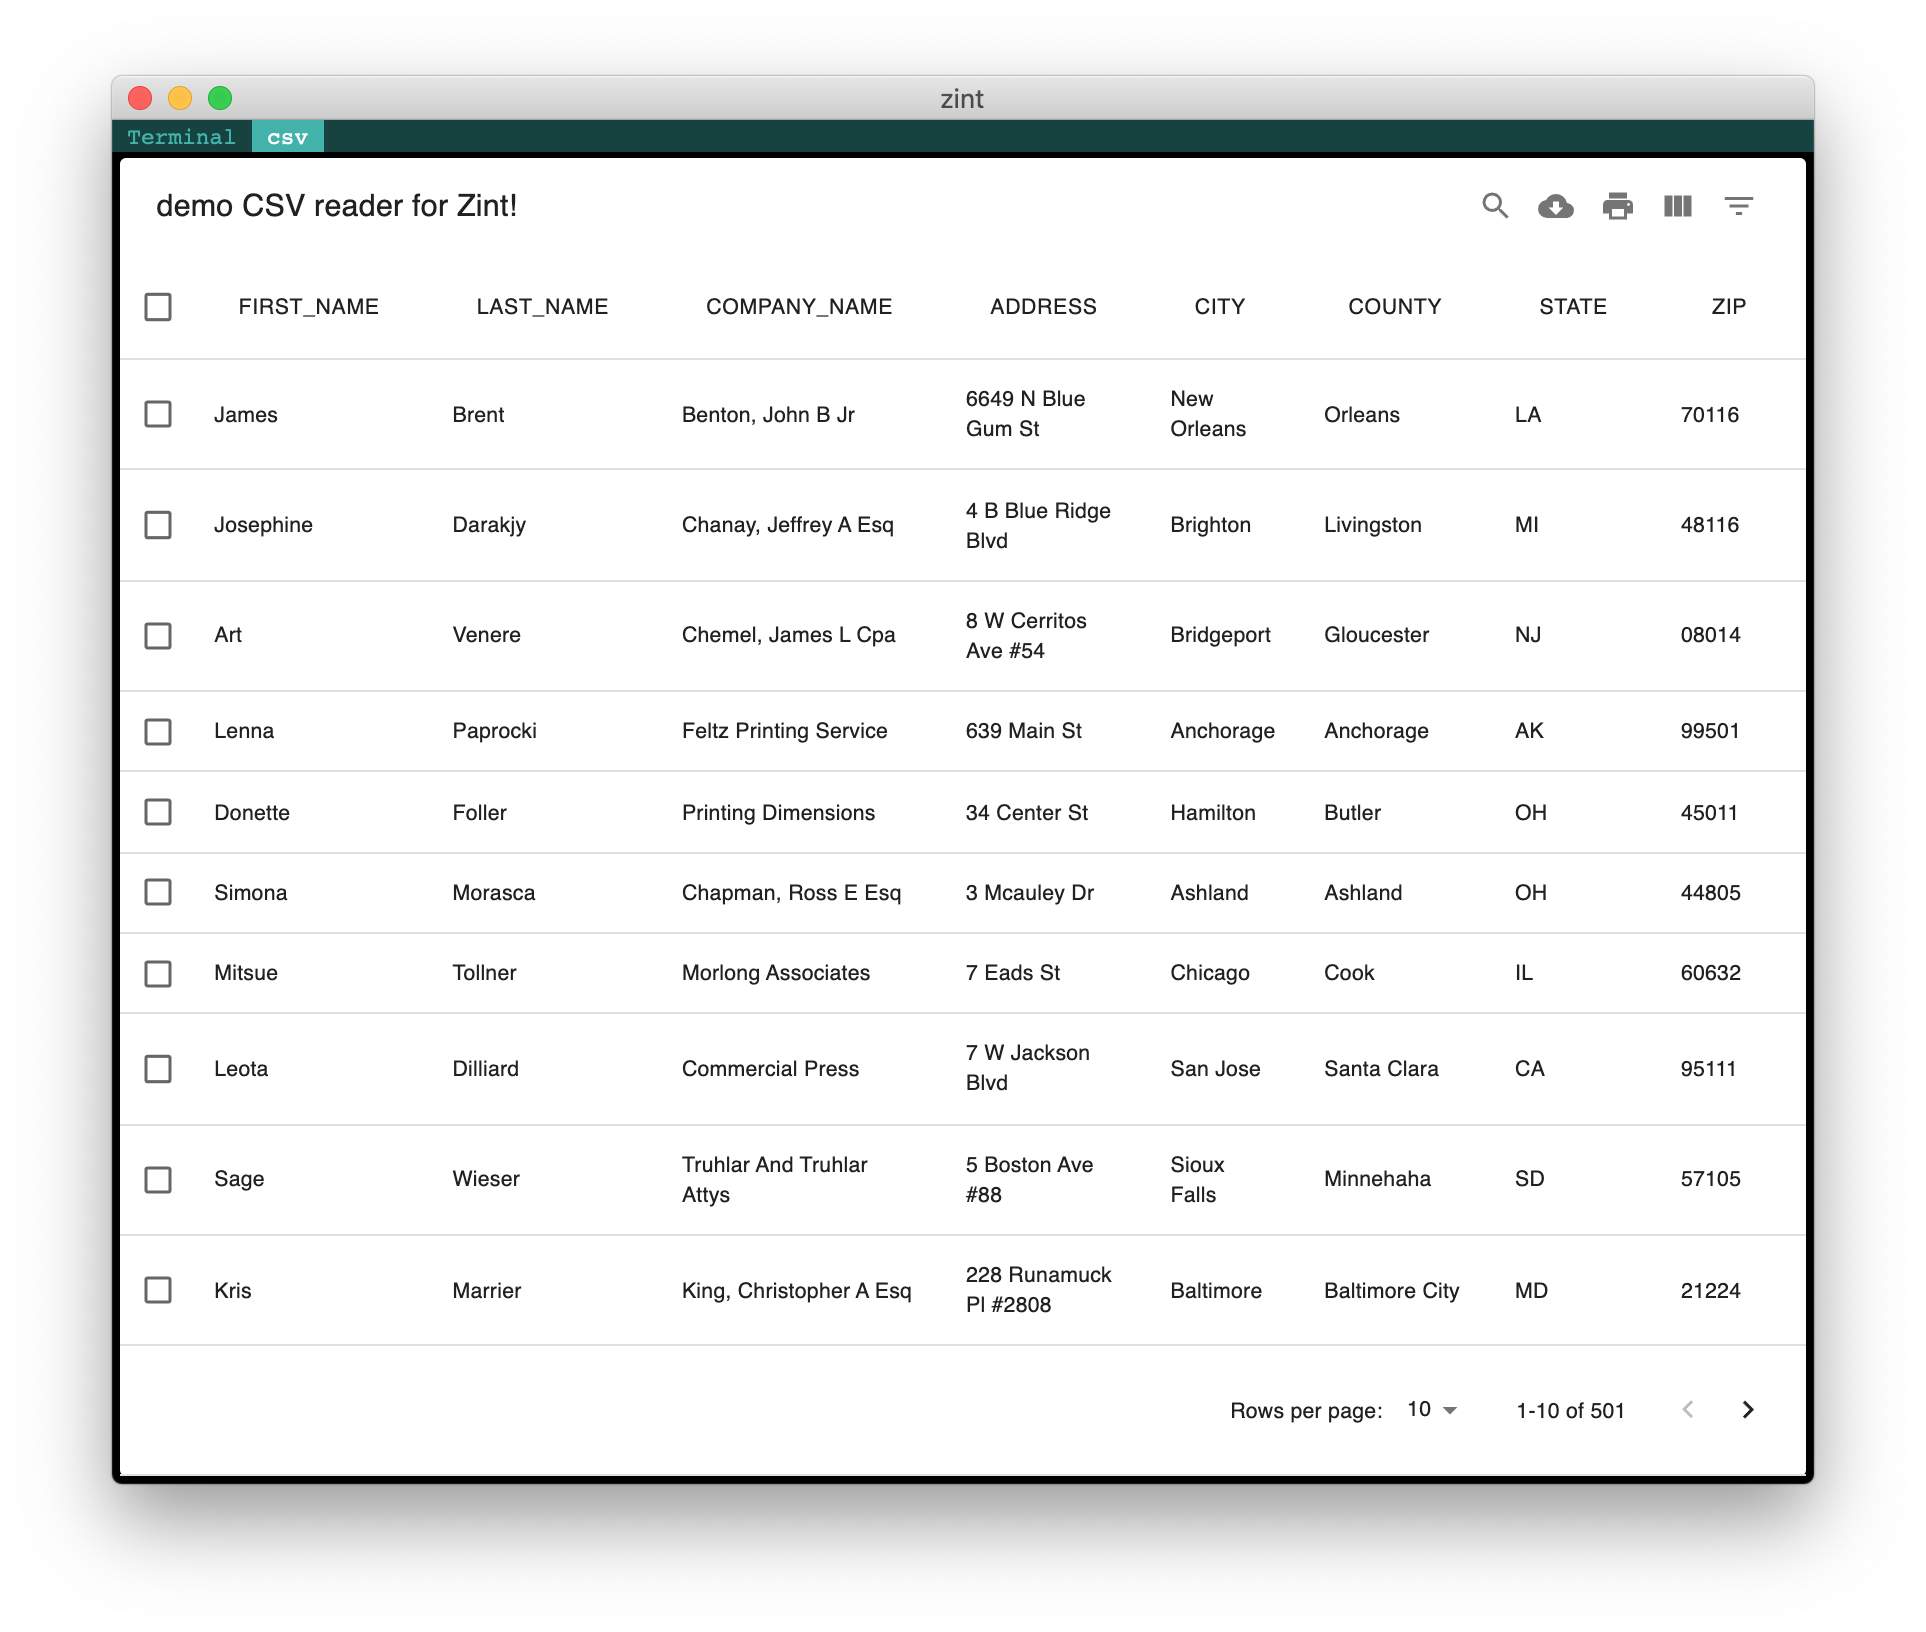
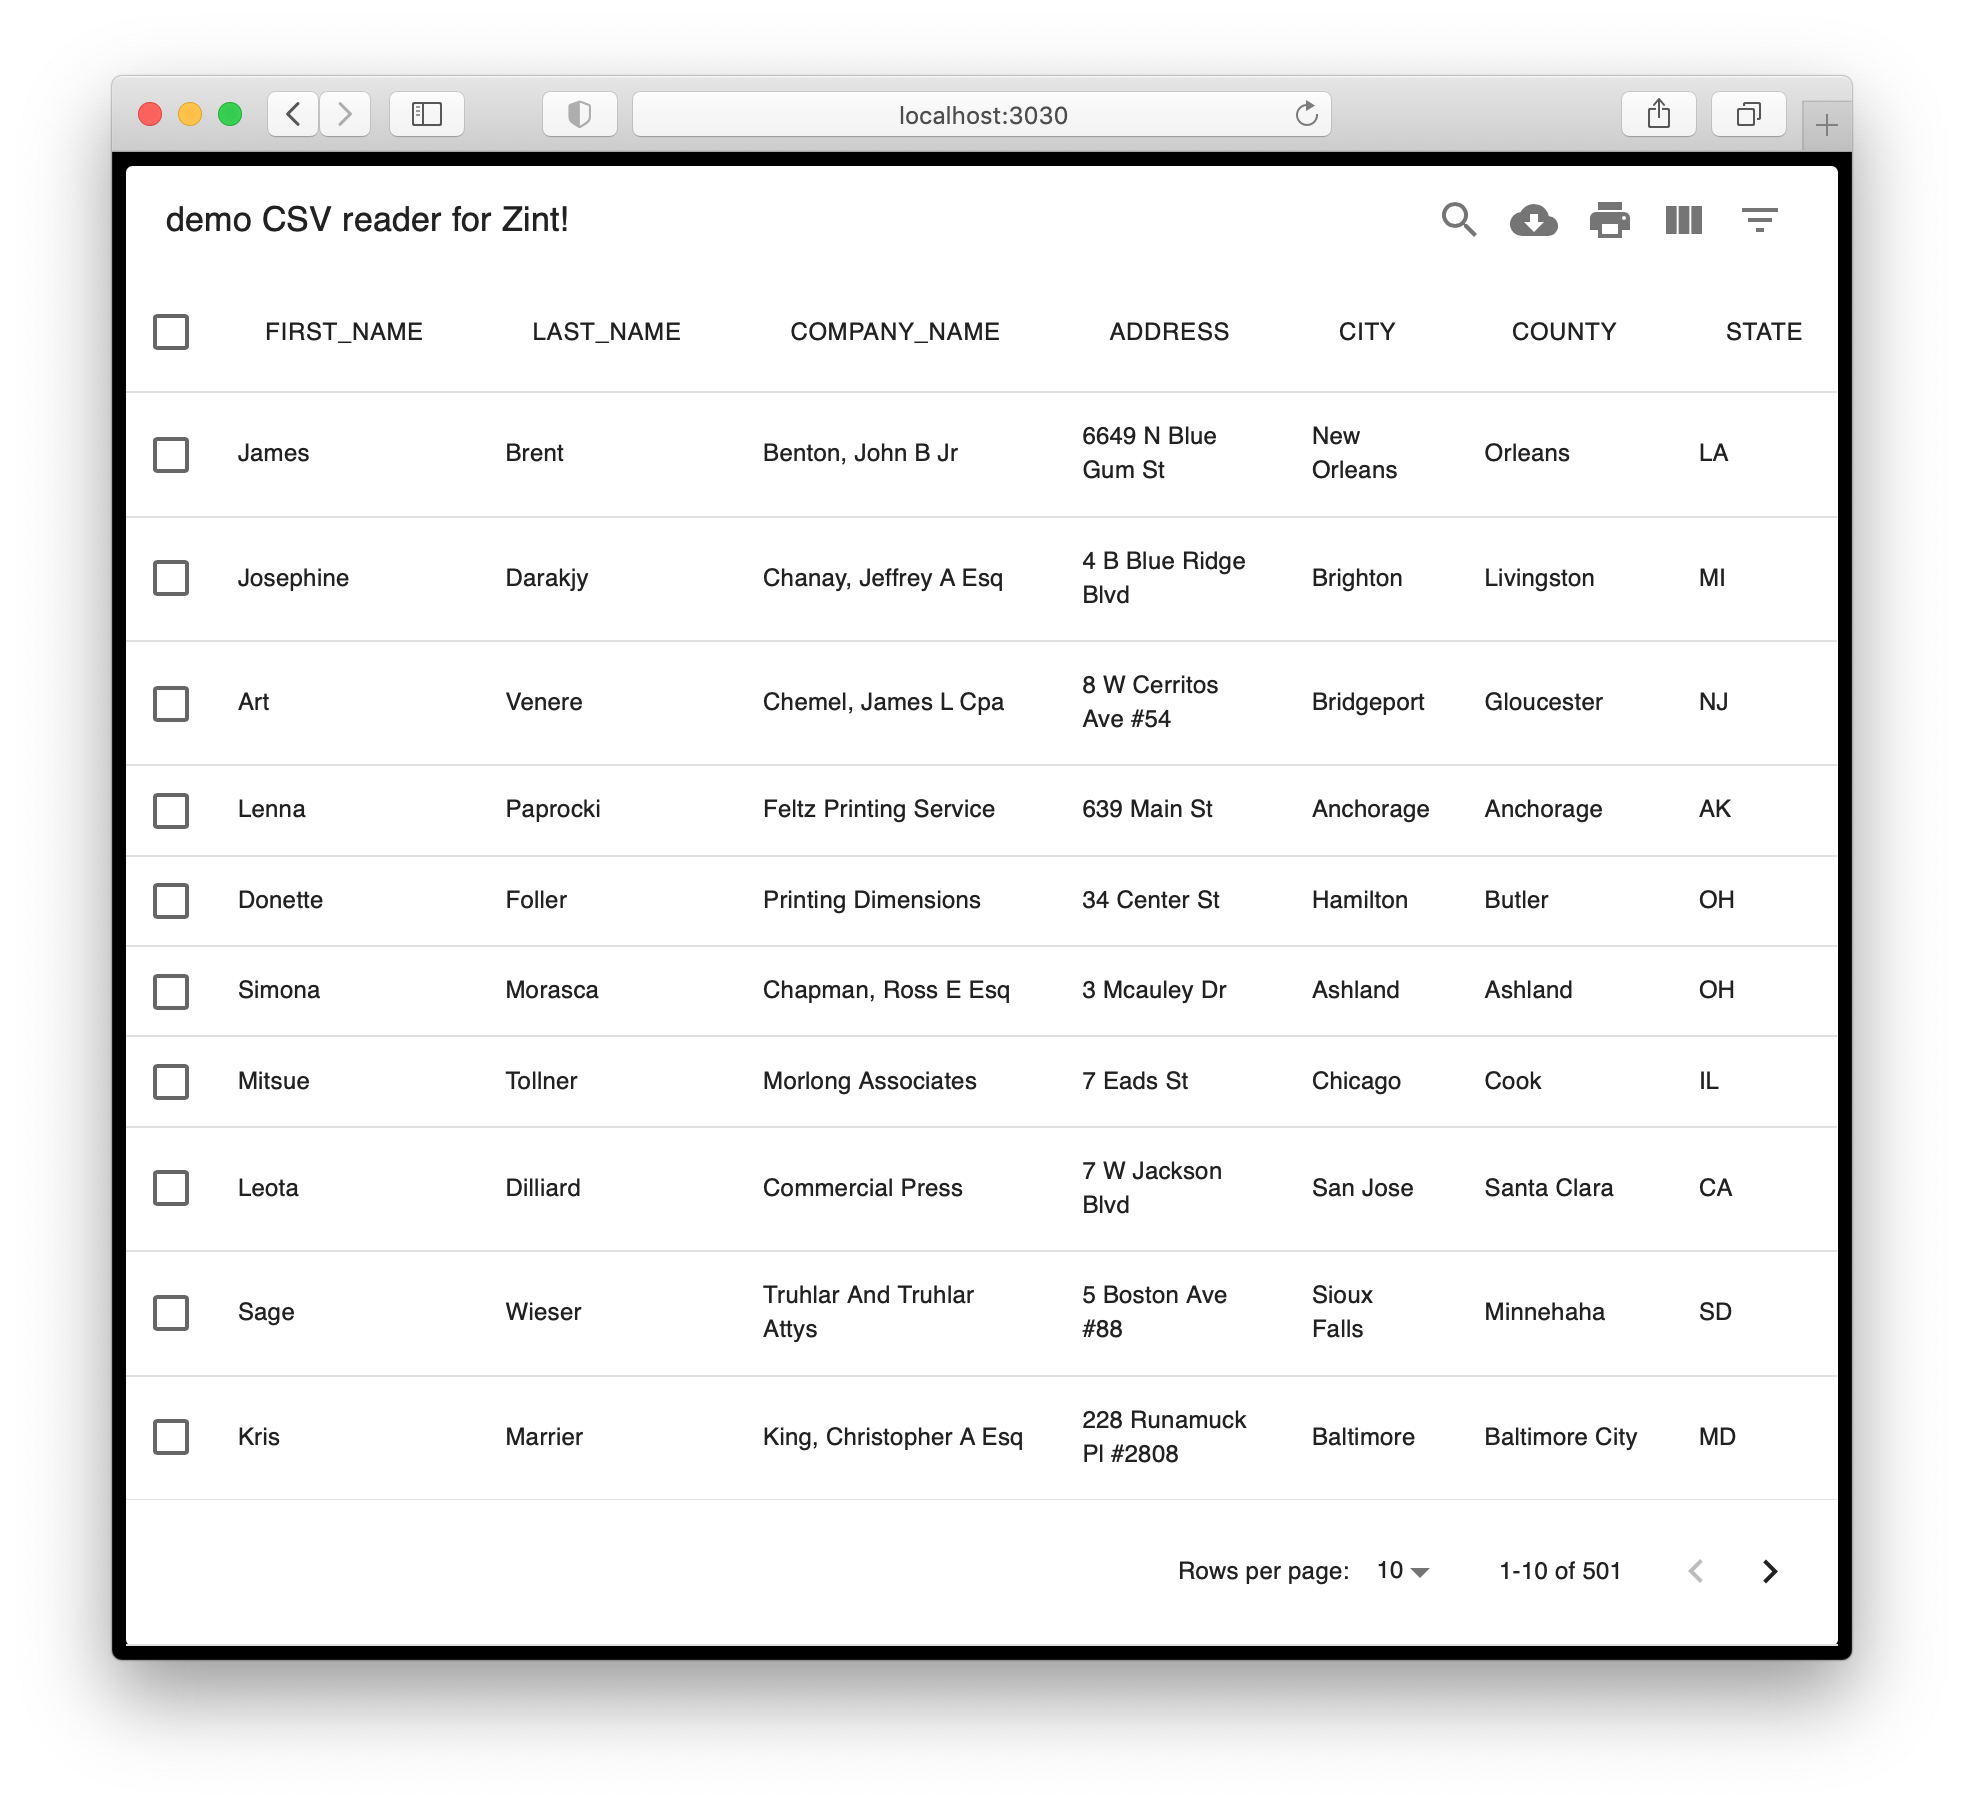
Let's save and voilà : an interactive CSV browser !
Build the component for Zint
We're almost done and we now have to build the production build:
- yarn
- npm
yarn build
npm run build
and copy it to our $HOME/.zint/components folder so that Zint can use it :
cp -r ./dist $HOME/.zint/components/csv
and that's it !
Use the component with Zint
And that's it ! Our component is now ready to be used by calling zint csv
URL='https://gist.githubusercontent.com/piq9117/83dd2e0c7bb3949bbcaf4346b8a77418/raw/6b407f99c5aea0b25a9ed3c82888d4c7823eed13/test.csv'

curl -s $URL | zint csv